Tips to Help You Safely and Efficiently Clean Your Dryer Vent
How to Clean Out Dryer Vent
Every clothes dryer has some kind of filter to catch the lint generated by the clothes tumbling around inside it. However, the filter is not able to catch all the lint. Some of it inevitably ends up in the ductwork leading to the outside vent. Proper maintenance is necessary to clean this ductwork thoroughly. Many home fires are started by dryers and the leading cause of this is a buildup of lint due to lack of maintenance. So, in this article we’ll cover how to clean out a dryer vent.
Where is the Dryer Vent?
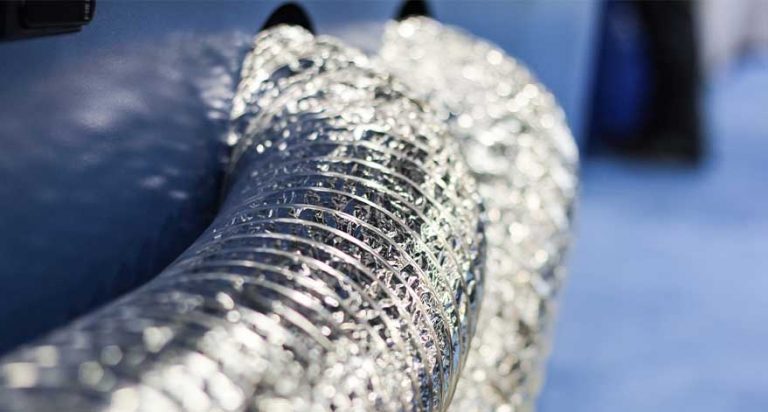
At the back of your dryer unit is an exhaust pipe that connects to ductwork inside the wall. Hot air travels through the ductwork and escapes through a vent on the outside wall of the house. The outside vent is covered and allows warm air to escape while keeping animals out.
How Do You Know When it is Time to Clean Your Dryer Vent?
Lint that makes its way past the filter becomes trapped all along the ductwork leading to the outside vent opening. As it builds up, it restricts the flow of air and leads to overheating. You will know it is time to clean your dryer if you notice:
- Clothes are not completely dry when a cycle ends.
- Your clothes are hot (more than they usually are) when a cycle ends.
- The outside of the dryer is very hot to the touch.
- Your laundry room is very humid when you run the dryer.
- There is a burning smell when you run the dryer.
- Your lint filter contains more lint than usual.
Cleaning materials you will need:
- Vacuum cleaner
- A specialized dryer vent kit (consists of a lint brush and flexible segments)
- Electrical tape
- Power drill
Unplug and Disconnect the Dryer
If you have an electric dryer, unplug the power cord from the wall outlet. If your dryer runs on gas, you will need to turn off the gas and be very careful not to move the gas line too much. Gas leaks have serious consequences.
Pull the dryer away from the wall. Remove tape or clamps, keeping the exhaust and vent pipe attached. Now you can move the dryer so it is not in the way.
After this, you need to go and find the outside vent exit and check it.
The Cleaning Process
Turn on your vacuum cleaner and use the hose attachment to suction all around the entrance of the vent. Poke it inside the vent and vacuum out what you can. A vacuum attachment alone does not reach deep enough inside, which is why you need the special dryer vent cleaning kit.
Connect the rods on your dryer vent kit so you will really be able to extend your reach and get about 12 feet inside the vent. Putting electrical tape over each connection will help to ensure that they do not come apart.
The kit comes with a rotating brush and you should insert the brush end of the rod into the duct. If you are handy, attaching a power drill to the rod will get the brush spinning at more of a speed than if done by hand. Once you’ve attached the drill, set it to spin clockwise on medium power.
Push the brush end of the rod as far as you can. There may be some twists and turns in the ductwork, so you need to move slowly and be patient. Move the rod backwards and forwards (or use the power drill to speed up the process).
Gravity is to your advantage in this situation, so you need to figure out whether you need to clean from the inside out or the outside in. If you’re working from the outside to the inside, the debris will come out on your laundry room floor. You may be surprised by the amount of lint that comes out and you will need to clean until no more lint comes out. Use your vacuum cleaner or a broom and dustpan to clean up all the debris.
Reconnect the Dryer and Plug It In
Reassemble or replace the duct sections. Some types of dryer ductwork, such as plastic or foil, were once commonly used because they were flexible and could be easily routed through difficult spaces. However, they are more prone to clogging and therefore to starting a fire. Ideally, these materials should be placed with a rigid, 90-degree metal elbow at the exhaust end of the dryer.
If you can’t remove and replace the old ductwork, it needs to be regularly removed and carefully cleaned out from end-to-end.
Once you are sure the ductwork is in good shape, plug in the dryer or turn on the gas valve. Push the dryer back into position, making sure not to kink the ductwork. Check that the lint screen is in place and then run the dryer to make sure it is venting properly.
Dryer safety tips:
- If you consistently remove any dryer lint from the lint trap every time you run the dryer, it will keep the dryer running smoothly and help prevent a fire.
- Don’t ever run the dryer unattended and leave the house as a fire could start and cause havoc before someone notices.
- Always give your dryer room to breathe. Any clutter around it or on top of it increase fire risks.
- Cleaning your dryer vent is a job you shouldn’t ignore. You should give it a good cleaning at least once a year – or more if you use it often.
A Final Word
Consistently cleaning out the lint in the lint trap of your dryer will help to keep it running smoothly. Lint is flammable and if it builds up, you’re playing with fire. You will need to clean the dryer vent at least once a year. It may not be a glamorous job but it may be all your dryer needs to perform properly again and save you from having to buy a new dryer.